To replace parts on your suction pool cleaner, start by identifying worn or damaged components like brushes, filters, or O-rings. Turn off and unplug the cleaner before carefully removing and installing new parts, ensuring proper alignment. Check water chemistry to prevent corrosion and maintain efficiency. Regular maintenance avoids costly repairs. Keep these steps in mind, and you’ll discover essential tips to keep your cleaner running smoothly and extend its lifespan.
Key Takeaways
- Identify performance issues or visible damage to determine which parts need replacement.
- Follow proper safety procedures by turning off and unplugging the cleaner before servicing.
- Ensure compatibility of replacement parts with your specific pool cleaner model.
- Regularly inspect and clean filters, brushes, and tracks to maintain optimal performance.
- Test the system after replacement for leaks, proper water flow, and smooth operation.

Polaris Genuine Parts Suction Cleaner Tune Up Kit, R0997900 | Compatable with Polaris Models Atlas, Atlas XT, MAXX
WHAT'S INCLUDED: 2 Drive Shaft Assemblies, Engine Assembly, Direction Control Device (V2, Side A), Direction Control Device (V2,…
As an affiliate, we earn on qualifying purchases.
As an affiliate, we earn on qualifying purchases.
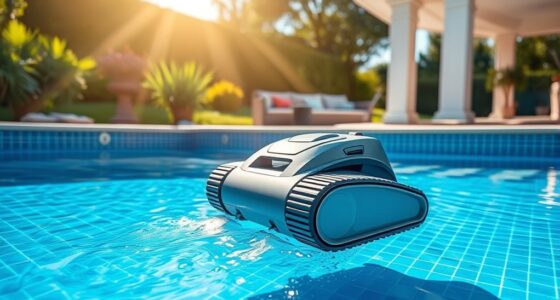
Identifying When Your Suction Pool Cleaner Needs Part Replacements

Your suction pool cleaner will typically signal when it needs part replacements through noticeable performance issues. If it begins missing spots or struggles to pick up debris, check the water pH levels, as imbalanced pH can hinder suction strength. Maintaining proper pool chemical balance ensures your cleaner operates efficiently and extends its lifespan. When water pH levels are too high or low, it can cause buildup or corrosion that damages parts over time. Proper chemical balance is crucial for preventing premature wear and tear on the components. Additionally, if your cleaner is making unusual noises or moving erratically, it might be time to inspect or replace worn components. Regularly monitoring water chemistry helps detect issues early before they cause significant damage. Monitoring your pool’s chemical balance and water pH levels regularly helps prevent premature wear. Proper maintenance also involves inspecting for blockages that can impede water flow and reduce cleaning efficiency. Regularly cleaning or replacing filters can further improve overall performance and prevent clogging issues. Being aware of component wear signs can help you schedule timely repairs and extend your cleaner’s lifespan. Staying attentive to these signs keeps your suction pool cleaner running smoothly and reduces the need for frequent repairs.
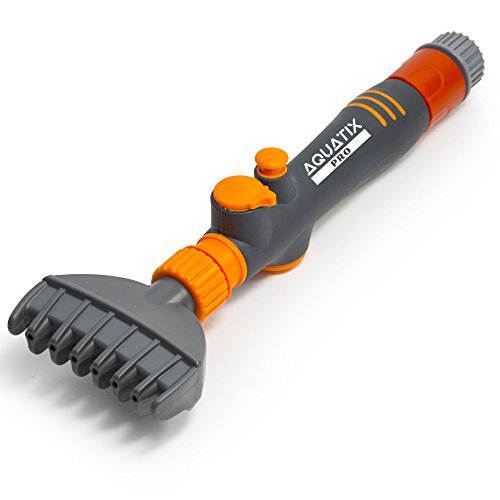
Aquatix Pro Premium Pool & Spa Filter Cartridge Cleaner, Removes Debris & Dirt from Pool Filters in Seconds, Heavy Duty & Durable Pool Cartridge Filter Cleaner, for a Clean Flow of Water Today! (1)
SAVE TIME: Pool cleaning can be a real chore! Aquatix Pro Premium Cartridge Cleaner removes debris and dirt…
As an affiliate, we earn on qualifying purchases.
As an affiliate, we earn on qualifying purchases.
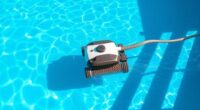
Replacing the Brushes and Brooms for Optimal Cleaning Performance
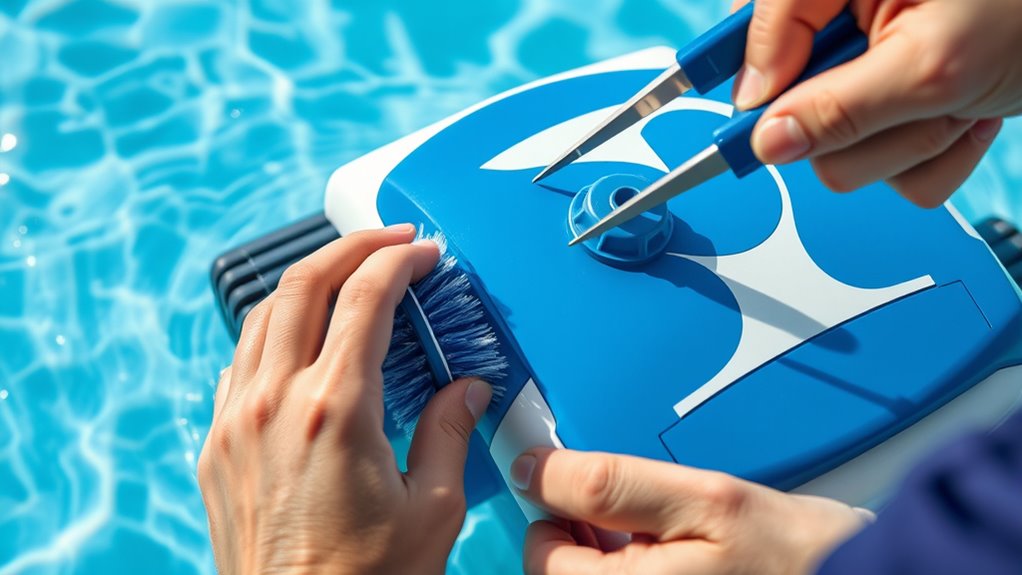
To maintain your suction pool cleaner’s ideal cleaning performance, regularly inspecting and replacing the brushes and brooms is essential. Worn brushes reduce cleaning efficiency, especially in areas with algae or debris buildup. Before replacing, check your pool chemistry; balanced water chemistry ensures the new brushes work effectively and last longer. Always follow safety precautions—turn off the cleaner and unplug it to prevent accidents. Wear gloves to avoid contact with any debris or chemicals. Properly align the new brushes and brooms to ensure they spin freely and clean thoroughly. Regular replacement not only improves performance but also prevents dirt from spreading back into your pool. Keep an eye on brush wear and replace them promptly for optimal cleaning results and a safer, cleaner pool.

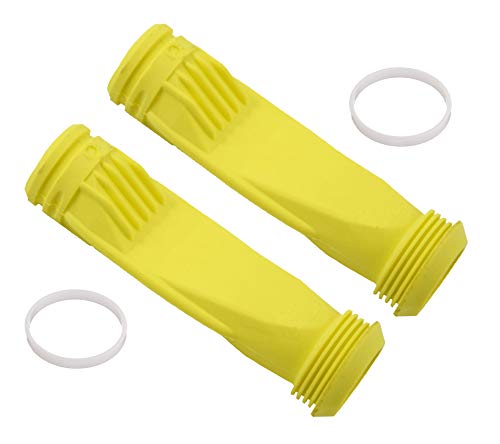
POOLWHALE Professional Swimming Pool Vacuum Cleaner Hose -1.5” 8 Piece Hoses, Perfect Vacuum Extension/Replacement – Compatible with all Major Automatic Pool Cleaners
Automatic cleaner hose with mould cuffs – Dia.1-1/2 X 1m
As an affiliate, we earn on qualifying purchases.
As an affiliate, we earn on qualifying purchases.
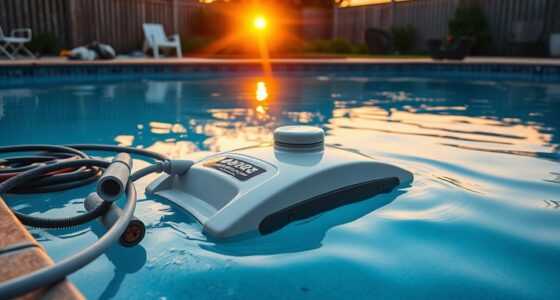
Swapping Out the Hoses and Cables for Flexibility and Efficiency

Replacing the hoses and cables on your suction pool cleaner can substantially improve its flexibility and overall cleaning efficiency. Upgrading to hoses with better hose flexibility allows your cleaner to navigate tight corners and complex pool shapes more easily. Choosing cables with enhanced durability ensures they withstand wear and tear, extending their lifespan. Here are four tips:
- Inspect hoses regularly for cracks or stiffness, replacing them as needed.
- Opt for hoses made from flexible, resilient materials to improve movement.
- Check cables for signs of fraying or weakening; replace for sustained durability.
- Use quick-connect fittings to make swapping hoses and cables faster and easier.
Focusing on hose flexibility and cable durability helps your cleaner operate smoothly, saving you time and effort while maintaining peak performance.
ATIE Pool Cleaner Long Life Diaphragm W69698 with Retaining Ring W81600 Replacement Compatible with Zodiac G3, G3 PRO, G4 Pool Cleaner Diaphragm W69698 (2 Pack)
Compatible with Zodiac G3, G3 PRO, G4 pool cleaners
As an affiliate, we earn on qualifying purchases.
As an affiliate, we earn on qualifying purchases.
How to Change the Intake Valves and Skimmer Fittings
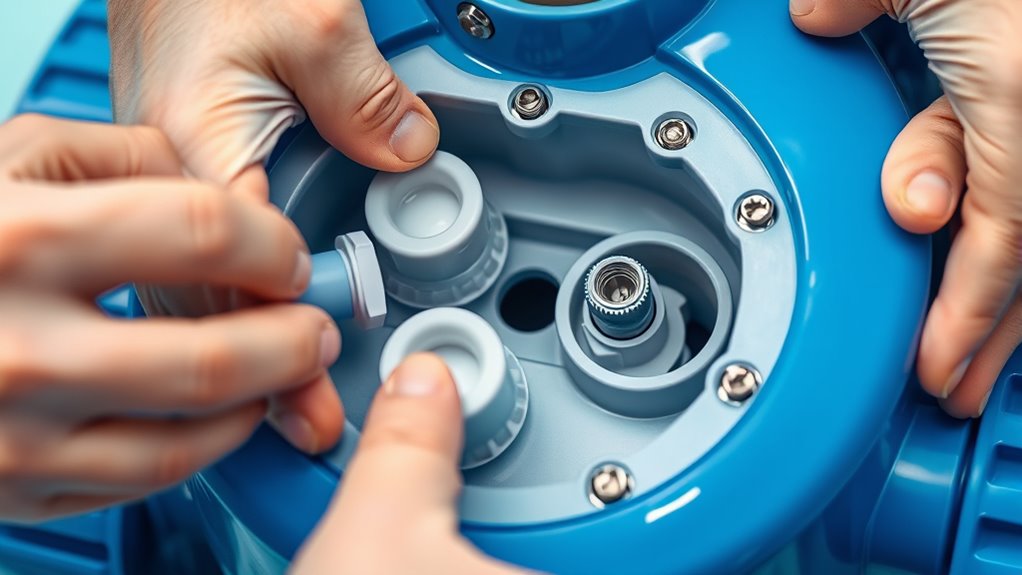
To replace the intake valves and skimmer fittings, start by removing the old valves carefully to avoid damage. Next, install the new fittings securely, ensuring they fit snugly and seal properly. Proper storage of parts during installation can prevent unnecessary damage and ensure a better fit. Using high-quality sealing techniques can help improve the overall effectiveness and longevity of the replacements. Finally, test your system to confirm everything operates smoothly and there are no leaks.
Removing Old Valves
When removing old valves, it’s important to start by turning off the pool’s pump and disconnecting the power supply to guarantee safety. This prevents accidental injury and damage during valve maintenance. Next, follow these steps:
- Loosen and remove the fittings securing the old valve carefully.
- Gently pull out the valve, inspecting for damage or corrosion. Regular inspections can help identify potential issues early.
- Clean the surrounding area to ensure a proper seal when installing the new valve.
- Check the old valve for any signs of wear that could influence valve selection for future replacements.
- Consider the fit and seal quality of the new valve to ensure optimal performance and prevent leaks. Using high-quality pool fittings can also contribute to the longevity of your system.
Choosing the right valve is crucial for optimal performance. Proper removal also helps avoid leaks and guarantees the new valve fits securely, maintaining the efficiency of your pool’s suction system.
Installing New Fittings
Once you’ve removed the old fittings, it’s time to install the new intake valves and skimmer fittings. Start by aligning the new fittings with the existing openings, guaranteeing a snug fit to prevent leaks. Tighten the fittings securely, but avoid over-tightening, which can crack the fittings or damage the pool wall. Properly installed fittings help maintain ideal water circulation, which keeps pool chemicals evenly distributed and prevents algae buildup. Check that the fittings are sealed correctly to avoid leaks that could disrupt filtration. As water flows through these new parts, it ensures consistent circulation and effective distribution of chemicals. Incorporate good lighting to ensure visibility during installation and inspections. Ensuring proper installation techniques can further prevent issues with leaks or misalignment. Once everything is secure, turn on your pump to verify that water flows smoothly without leaks or blockages. Proper installation guarantees your pool’s filtration system works efficiently.
Testing the System
How can you guarantee your new fittings are working correctly? First, turn on your pool pump and observe water circulation around the new intake valves and skimmer fittings. Check for leaks or drips that could indicate improper installation. Next, ensure the pool chemical levels are balanced, since improper chemical balance can affect water flow and clarity. Follow these steps:
- Inspect for leaks around fittings and tighten if necessary.
- Observe water flow to confirm proper circulation.
- Use a pool test kit to verify chemical levels remain stable.
- Run the system for a few hours, then recheck for consistent water movement.
- Consider the materials used in fittings to ensure durability and proper fit over time. Additionally, inspecting the engine tuning options of your equipment can help optimize performance and longevity.
Proper testing ensures your fittings are secure, water circulates well, and your pool stays clean and chemically balanced.
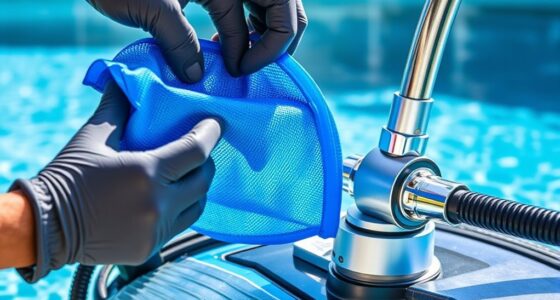
Replacing the Filter Bags and Mesh for Better Debris Capture
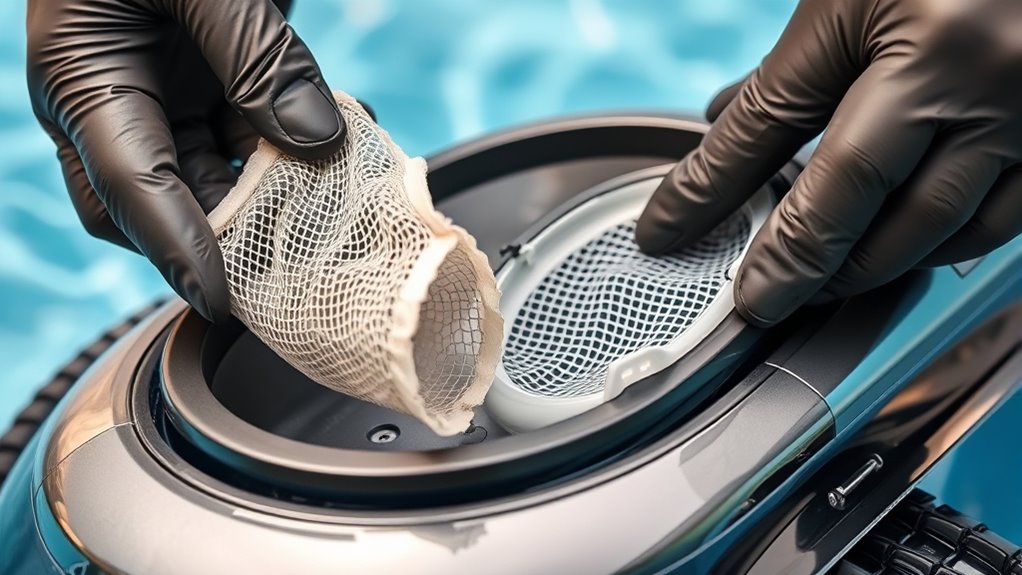
Replacing the filter bags and mesh on your suction pool cleaner is essential for maintaining ideal debris capture. Start by choosing the right filter bag types, such as standard or heavy-duty options, depending on your debris load. Inspect the mesh material options—nylon, polyester, or specialized fabrics—selecting one that offers maximum durability and filtration. Regularly replacing these components ensures your cleaner functions efficiently, preventing clogs and maintaining strong suction. Remove the old filter bag carefully, then install the new one securely, making sure it fits snugly. When replacing the mesh, ensure it’s clean and free of tears before installing. Proper maintenance of these parts not only boosts debris collection but also prolongs the lifespan of your pool cleaner. Additionally, using high-quality filtration materials can significantly improve debris capture and extend the intervals between replacements, which is supported by industry standards for effective debris filtration. Regular inspection and timely replacement help prevent clogged filters, ensuring your pool cleaner operates at peak performance. Incorporating proper maintenance practices can further enhance the efficiency and longevity of your pool cleaner components.
Steps to Replace the Impeller and Drive Assembly
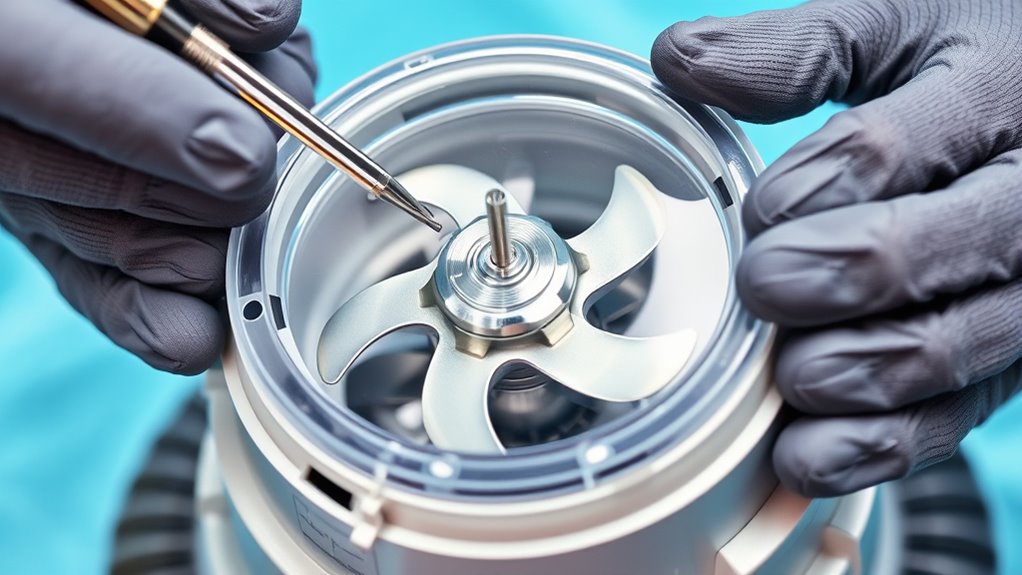
To replace the impeller and drive assembly on your suction pool cleaner, start by unplugging the unit and removing the cover to access the internal components. Confirm the pool’s chemical balance is proper, and water temperature is within the recommended range for safe handling.
Next, follow these steps:
- Detach the drive motor and disconnect the impeller shaft carefully.
- Remove the old impeller and inspect the housing for debris or buildup. Regular inspection helps prevent clogging issues during operation.
- Install the new impeller, making sure it’s seated properly.
- Reassemble the drive assembly, reconnecting all parts securely.
- Performing routine maintenance routines can significantly extend the lifespan of your pool cleaner and ensure consistent performance.
Check that the drive components move freely and are free of obstructions. Proper water temperature and balanced chemicals help prevent corrosion and ensure smooth operation during reassembly. Additionally, understanding how proper installation is essential for safe and effective operation, which is similar to following safety standards for appliances like wood stoves. Maintaining proper maintenance routines is essential for optimal performance and longevity of your pool cleaner.
Checking and Replacing the Seals and O-Rings to Prevent Leaks
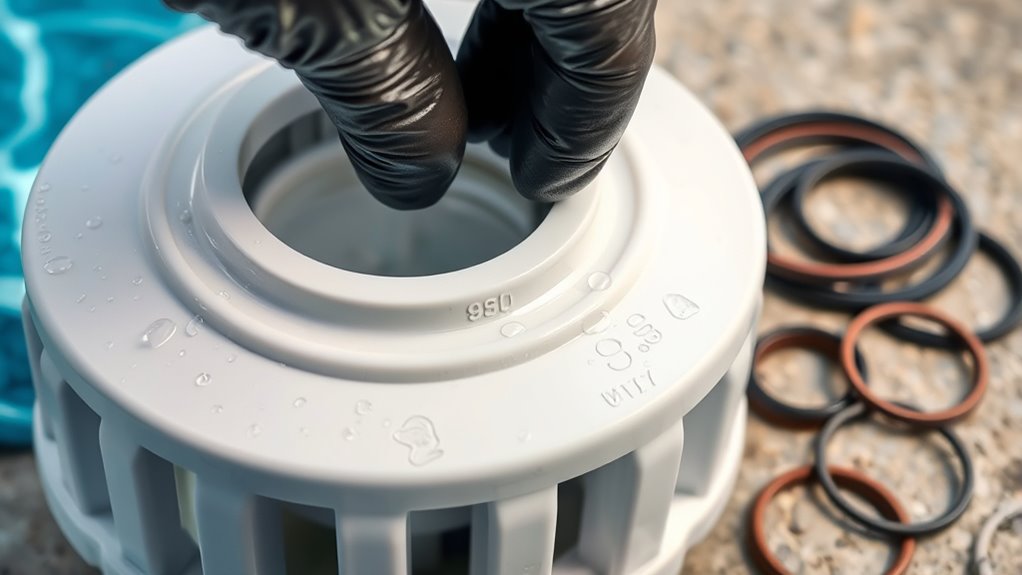
After reinstalling the drive assembly, it’s important to check the seals and O-rings for any signs of damage or wear. Perform a thorough seal inspection, looking for cracks, tears, or deformation that could cause leaks. If you notice any deterioration, it’s time for O ring replacement to guarantee a proper seal. Carefully remove the old O-rings, cleaning the surrounding area to prevent debris from compromising the new seal. Lubricate the new O-rings with a silicone-based lubricant to facilitate installation and maintain flexibility. Proper O ring replacement prevents leaks and maintains ideal suction. Regularly inspecting and replacing these seals and O-rings helps keep your pool cleaner functioning efficiently and extends its lifespan.
Tips for Maintaining and Replacing the Tracks and Wheels
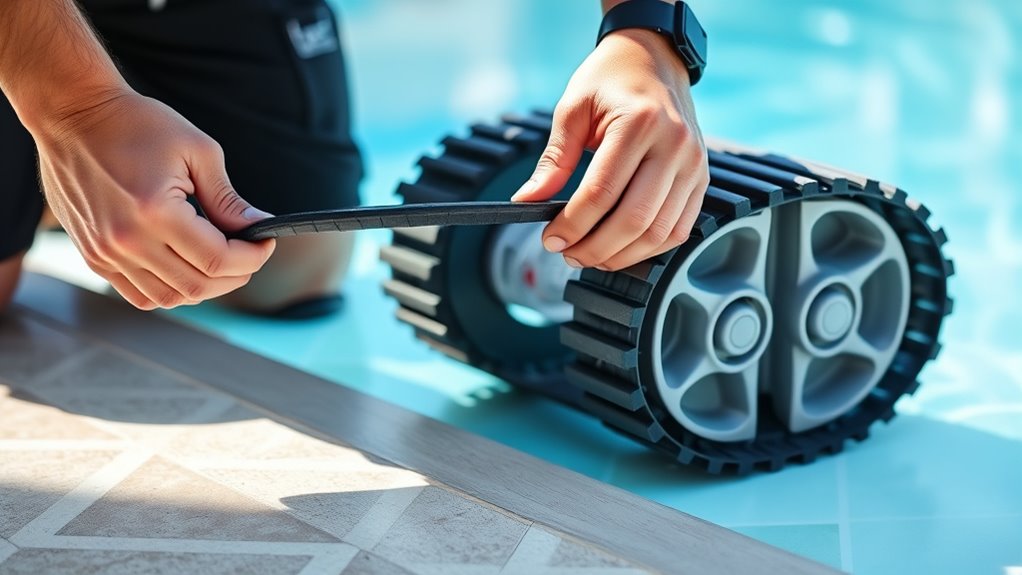
Regularly inspecting and maintaining the tracks and wheels of your suction pool cleaner guarantees it operates smoothly and efficiently. Proper track maintenance and timely wheel replacement prevent unnecessary wear and tear. Here are some tips to keep your cleaner in top shape:
- Check for signs of wear or damage on tracks and wheels weekly.
- Clean debris from tracks and wheels to prevent sticking or slipping.
- Replace wheels when they become cracked or lose traction.
- Adjust or tighten tracks if they appear loose or misaligned.
Troubleshooting Common Replacement Challenges and Solutions

Replacing parts on your suction pool cleaner can sometimes present challenges, but understanding common issues can make troubleshooting easier. If a replacement doesn’t work as expected, check for proper installation, ensuring parts are secure and aligned. Poor pool chemistry can also affect performance, so verify chemical balance to prevent corrosion or mold. Always follow safety precautions to avoid injury or damage. For example, if a new part isn’t functioning, consult this troubleshooting table:
| Issue | Possible Cause | Solution |
|---|---|---|
| Cleaner not moving | Improper part installation | Reinstall, ensuring correct fit |
| Reduced suction | Clogged hose or filter | Clear blockages |
| Unusual noise | Loose or damaged wheel | Tighten or replace wheel |
| Parts not fitting | Wrong model or incompatible part | Verify compatibility |
| Safety concern | Faulty electrical connection | Disconnect power and inspect |
Proper troubleshooting saves time and keeps your pool safe and clean.
Frequently Asked Questions
How Often Should I Replace Parts on My Suction Pool Cleaner?
You wonder how often you should replace parts on your suction pool cleaner. Following a maintenance schedule, check your cleaner regularly for wear and tear. Replacement frequency depends on usage, water conditions, and part quality, but generally, you should inspect brushes, hoses, and seals every few months. If you notice decreased performance or damage, replace parts promptly to keep your cleaner working efficiently and extend its lifespan.
Can I Replace Parts Myself or Should I Hire a Professional?
You wonder if you can handle DIY repairs or if you should call in a professional. While some parts are simple to replace, others require specialized tools and knowledge. Trying DIY repairs might save you money, but risking mistakes could lead to more costly repairs later. For tricky or critical parts, professional servicing guarantees safety and proper function. Consider your skills and the complexity before deciding—sometimes, experts know best.
What Are the Signs That a Part Needs Urgent Replacement?
When troubleshooting suction issues, look for signs like reduced suction power, strange noises, or leaks around the pool cleaner. If you notice these problems persist despite cleaning filters or checking hoses, it’s a sign a part needs urgent replacement. Regular pool cleaner maintenance helps prevent bigger issues. If you’re unsure, it’s best to replace the faulty part promptly or consult a professional to avoid further damage.
Are There Compatible Replacement Parts From Third-Party Manufacturers?
Think of your pool cleaner as a trusty sidekick. When it needs parts, you wonder if third-party options are like different armor—compatible and reliable. Many third-party manufacturers offer compatible replacement parts, often at lower costs, making maintenance more affordable. Just guarantee they meet your cleaner’s specifications. By considering third-party compatibility and cost considerations, you can keep your pool cleaner running smoothly without overspending.
How Do Replacement Parts Affect the Overall Lifespan of My Pool Cleaner?
Replacement parts can extend the lifespan of your pool cleaner by reducing wear and tear, keeping it functioning efficiently longer. When you follow a proper maintenance schedule and replace worn components promptly, you prevent minor issues from escalating into major repairs. This proactive approach guarantees your cleaner works effectively, saving you money and effort over time. Regularly updating parts helps maintain performance and prolongs the overall life of your pool cleaner.
Conclusion
Keeping your suction pool cleaner in top shape guarantees it works efficiently all season long. Regularly replacing worn parts like brushes, hoses, and seals prevents costly repairs and extends its lifespan. Are you ready to tackle those maintenance tasks and keep your pool sparkling? With a little effort, you’ll enjoy cleaner water and hassle-free cleaning sessions. Don’t wait for problems to arise—take charge now and make sure your cleaner performs at its best all summer!