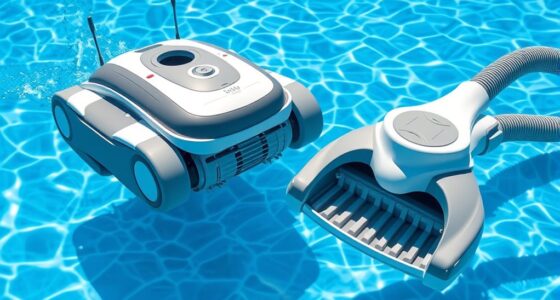

To install a pressure-side pool cleaner, start by gathering tools, hoses, and connectors. Place the cleaner near the return jet where water flow is strong and avoid obstructions. Securely attach the hose segments, ensuring each connection clicks and fits tightly to prevent leaks. Connect the cleaner to the pool’s suction or dedicated line, then adjust the settings for ideal cleaning. Proper installation and maintenance make your pool cleaner work efficiently—continue with these tips to learn more.
Key Takeaways
- Choose a location near the return jet with good water circulation and no obstructions for optimal cleaner performance.
- Securely connect the cleaner to the pool’s return fitting, ensuring a tight, leak-free fit with appropriate clamps.
- Match and securely attach hose segments using compatible connectors, avoiding kinks and ensuring smooth water flow.
- Confirm water chemistry is balanced and water flow is adequate before connecting the cleaner to prevent operational issues.
- Perform regular maintenance by cleaning filters, checking hose connections, and adjusting flow settings for efficient cleaning.
Gathering Necessary Tools and Materials

Before beginning the installation, you need to gather all the necessary tools and materials to guarantee a smooth process. Start by collecting your pool cleaner parts, hoses, and connectors. You’ll also need basic tools like screwdrivers, pliers, and a wrench. Don’t forget to have a pool chemical kit on hand to check and adjust water chemistry, especially water pH levels, which can impact the cleaner’s efficiency. Making sure proper water pH helps the cleaner operate smoothly and prevents damage. Additionally, have a water test kit ready to regularly monitor and maintain ideal conditions. Ensuring the contrast ratio of your pool water is balanced can also improve the overall cleaning effectiveness. Using automated systems can further streamline the maintenance process and reduce manual effort. Proper water chemistry and water chemistry play crucial roles in optimizing the cleaner’s performance. Regularly reviewing the energy efficiency of your equipment can help reduce operational costs and extend the lifespan of your pool cleaner. Gathering these items beforehand streamlines the setup, reduces delays, and ensures your pool cleaner functions effectively from the start. Proper preparation sets the foundation for a successful installation.
Choosing the Optimal Location for Installation

When selecting a spot for your pool cleaner, consider how easily it can access the pool return. Placing it near water flow guarantees efficient cleaning without unnecessary movement. Make sure the location supports smooth operation and minimizes hoses or cords stretching across the pool. Additionally, avoid placing the cleaner near areas with signs of spoilage, such as discoloration or mold, which could indicate water issues or contamination. Proper placement also involves ensuring the area is free from obstructions and has adequate water circulation, promoting optimal cleaning performance and reducing strain on the equipment. Ensuring good indoor air quality in the surrounding environment can help maintain the equipment’s longevity and effectiveness. Regularly checking for water quality issues can prevent potential damage and ensure the cleaner functions properly over time. Incorporating proper water chemistry maintenance can further enhance the performance and durability of your pool cleaning system.
Access to Pool Return
Selecting the right location for your pool return is essential for effective pool cleaner installation. You want a spot where the return jet is easily accessible and promotes proper water circulation. Proper access ensures you can easily connect the pressure-side cleaner without disrupting your pool’s flow. When choosing the location, consider your pool’s pool chemistry; an excellent return placement helps maintain balanced chemical levels by circulating water evenly. Additionally, prioritize safety precautions by avoiding areas where installation might interfere with pool equipment or create hazards. A well-placed return ensures your cleaner operates efficiently, reducing debris buildup and improving overall pool maintenance. Understanding trust issues and how they impact your relationships can also help you create a more harmonious environment around your pool area. Taking time to select the ideal location will make installation smoother and enhance your pool’s cleaning performance. Proper water circulation is also crucial for preventing the development of stagnant water, which can lead to algae growth and other issues. Good circulation can also help mitigate clogging problems in your pool’s filtration system, ensuring long-term efficiency. Furthermore, an optimal return location supports nutrient distribution, which is vital for maintaining a healthy and clear pool. Additionally, considering water flow patterns can further optimize the effectiveness of your pool cleaner and overall circulation.
Proximity to Water Flow
Choosing the right location for your pool return involves considering how water flows through the pool. Proper placement ensures your pressure-side cleaner operates efficiently. You want to position the return jet where water flow naturally circulates, avoiding dead spots with minimal circulation. Understanding water flow helps you identify the best spots for placement, ensuring the cleaner reaches all areas. By selecting a spot with strong, steady water movement, you help the cleaner reach all pool areas effectively. Keep in mind, too, that too close to the skimmer or ladder may disrupt flow patterns. Ideal placement encourages even water circulation, which improves cleaning performance and reduces strain on the pump. Additionally, positioning the return jet in a way that promotes proper water circulation can greatly enhance overall pool cleaning results. Recognizing circulation patterns allows for more strategic installation, leading to more efficient cleaning outcomes.
Connecting the Cleaner to the Pool’s Skimmer or Dedicated Line
Connecting your pool cleaner to either the skimmer or a dedicated line is a crucial step for effective operation. Confirm your pool’s water chemistry is balanced before installation, as proper chemical levels improve cleaning efficiency and protect the equipment. If you use solar heating, connect the cleaner to the line that won’t interfere with your solar system’s flow. For skimmer connections, attach the hose securely to prevent leaks and ensure steady suction. A dedicated line offers consistent pressure, making cleaning more efficient. Check for any obstructions in the chosen connection point. Proper setup helps your cleaner operate smoothly, conserving energy while maintaining a clean pool. Incorporating efficient flow management into your pool setup can further optimize performance and monitoring, especially when considering system compatibility with existing equipment. Ensuring your pool’s plumbing system is well-designed can also prevent pressure fluctuations, which can impair the cleaner’s effectiveness. Additionally, inspecting your pool’s filter system regularly can help maintain optimal water flow and cleaning efficiency.
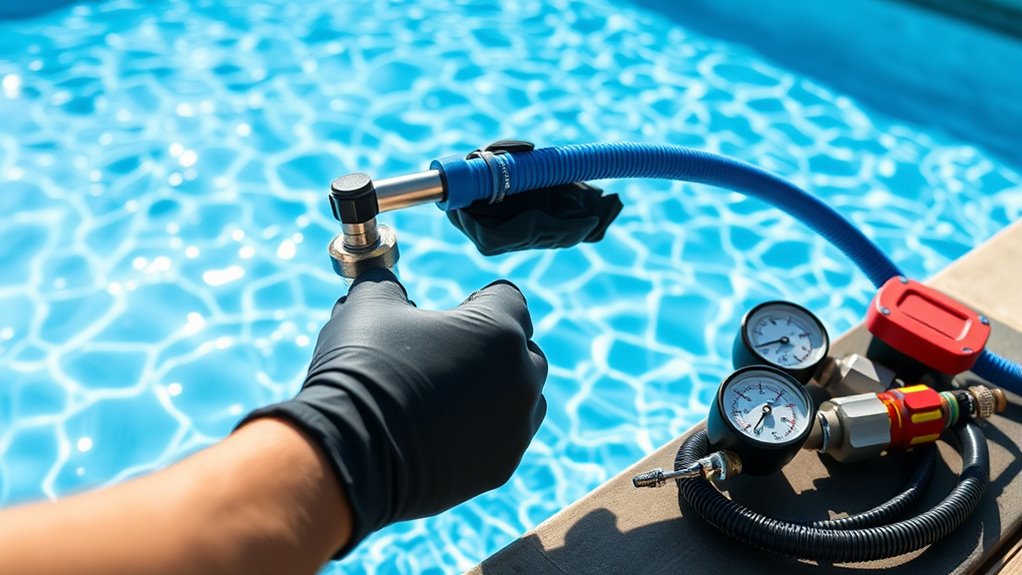
Attaching the Hose Segments Correctly
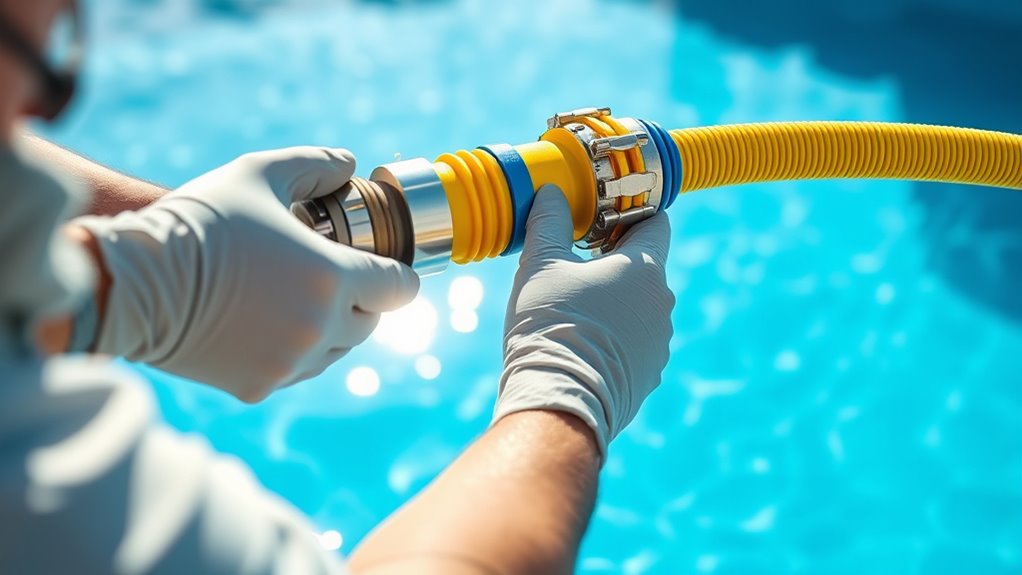
Make sure you connect each hose segment securely to prevent leaks and guarantee proper operation. Double-check that each fit is snug and clicks into place. Properly attaching the hose segments now will save you time troubleshooting later.
Connect Hose Segments Securely
To guarantee your pool cleaner functions properly, you need to connect the hose segments securely. Start by ensuring the hose compatibility, so all parts fit together seamlessly. Check the connector types—some hoses use screw-on connectors, while others have push-fit or locking mechanisms. Match the connectors correctly to avoid leaks or disconnections during cleaning. When attaching segments, firmly push or screw them together, making sure they’re snug but not over-tightened. Properly connected hose segments prevent water from escaping and maintain consistent pressure, which is essential for peak operation. Take your time to double-check each connection, ensuring all segments are secure before starting the cleaner. Secure connections help your pool cleaner work efficiently and extend its lifespan.
Check for Proper Fit
Ensuring the hose segments fit properly is crucial for your pool cleaner’s effectiveness. If the segments aren’t connected securely, the cleaner may not move efficiently or could become detached, risking pool safety. Check each connection carefully, making sure they click into place and are snug. Loose fittings can allow debris or pool chemicals to bypass the cleaner, reducing cleaning performance. Proper fitting also prevents hose tangling and ensures smooth operation. Use the following table as a quick reference:
| Hose Segment | Proper Fit Check |
|---|---|
| Connection A | Clicks in firmly, no gaps |
| Connection B | No leaks or loose movement |
| Connection C | Fits snugly, no excessive slack |
| Connection D | Securely attached at each joint |
| Overall | No kinks or tangles, maintains flow |
Double-check each connection to maintain pool safety and optimal cleaning results.
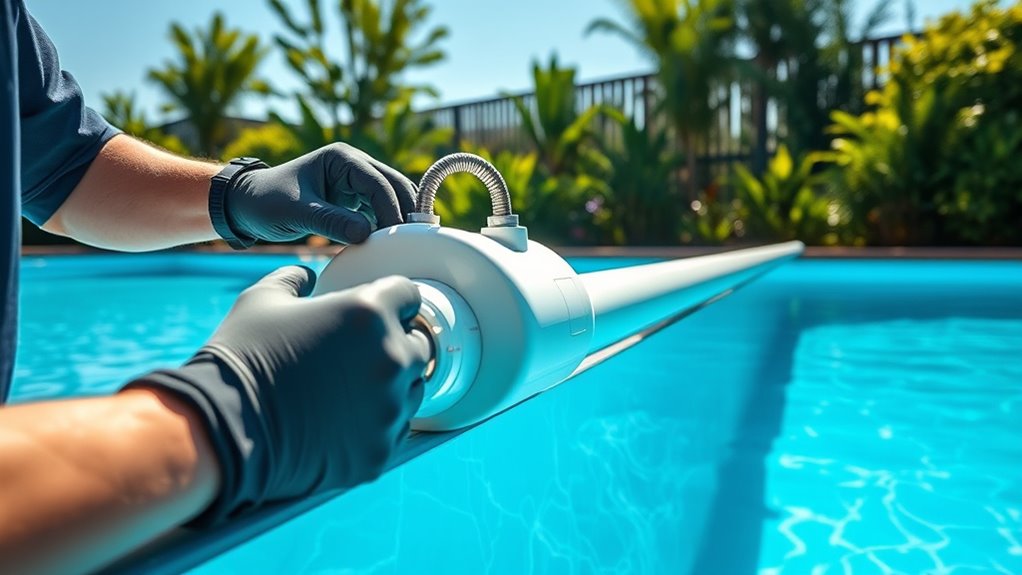
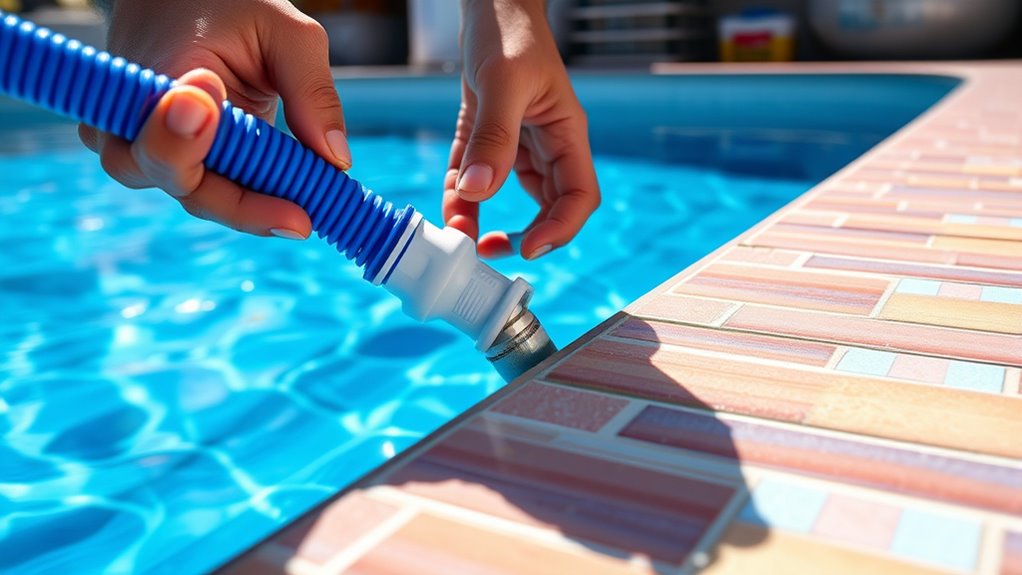
Securing the Hose to the Pool’s Return Fitting
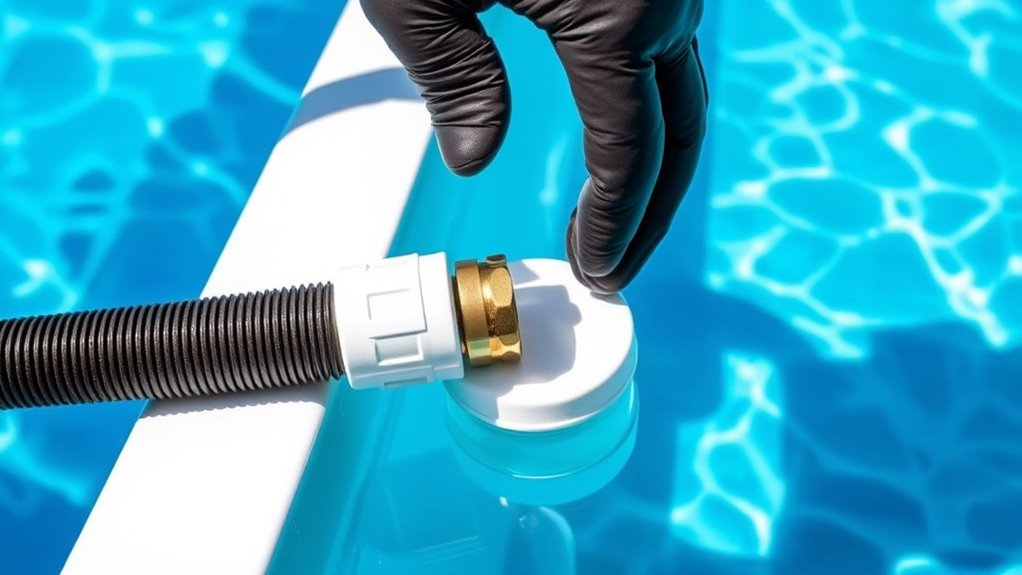
Securing the hose to the pool’s return fitting is a critical step to guarantee proper operation of your cleaner. Make sure the hose is aligned correctly with the return fitting to prevent leaks and ensure effective cleaning. Use a securing clamp to firmly hold the hose in place, preventing it from slipping off during operation. Proper hose alignment ensures the cleaner moves smoothly and covers the pool evenly. Double-check that the clamp is tight but not overly restrictive, which could damage the hose. Avoid gaps or loose fittings that could reduce suction power. A secure connection minimizes water leaks and maximizes cleaning efficiency.
- Confirm hose alignment before tightening the clamp
- Use a high-quality securing clamp for durability
- Ensure the clamp is tight but not overly tight
- Check for gaps or leaks after securing
- Test the cleaner’s operation for proper fit
Adjusting the Cleaner’s Settings for Effective Operation
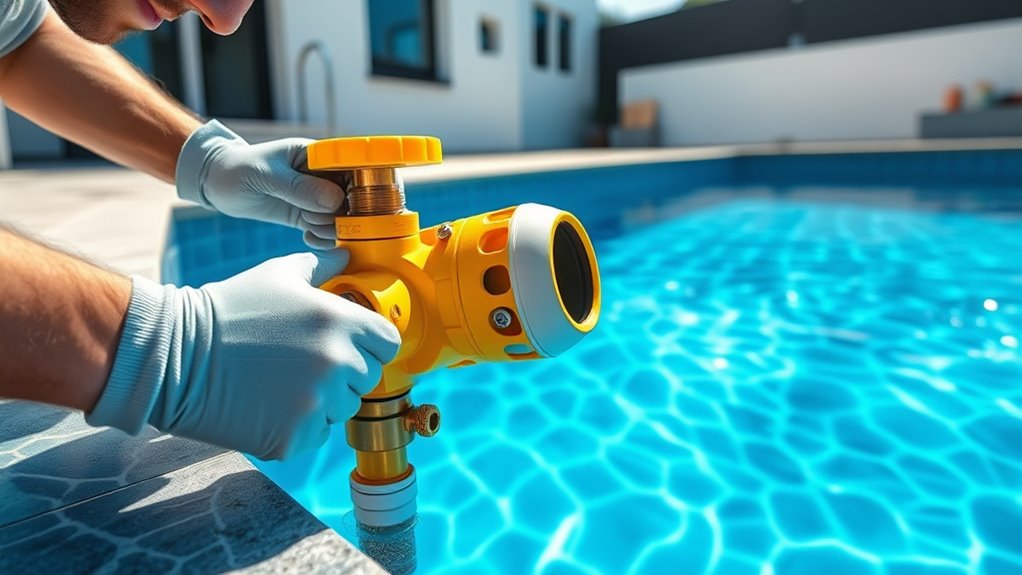
Adjusting your pool cleaner’s settings correctly can substantially improve its cleaning performance. Start by ensuring regular filter maintenance, as a clean filter helps the cleaner operate efficiently. Check and clean the filter basket or cartridge regularly to prevent clogs that reduce suction power. Proper hose storage is also essential; keep the hose neatly coiled when not in use to prevent kinks and tangles, which can hinder movement and coverage. Adjust the cleaner’s flow rate and sweep settings according to your pool’s size and debris level for ideal performance. Make sure the hose is free of obstructions and securely connected. These small adjustments, combined with good maintenance habits, help your pressure-side cleaner work more effectively, saving you time and effort.
Testing the System and Troubleshooting Common Issues
Before you start cleaning, it’s important to verify that your pool cleaner’s system is working correctly. Check for proper water flow, ensuring the cleaner moves smoothly without hesitation. Inspect the filter for debris buildup, as clogged filters can hinder performance and affect debris removal. Observe the cleaner’s movement to identify any irregularities, like stalls or incomplete coverage. Listen for unusual noises that could indicate mechanical issues. Confirm that hoses are connected securely and free of leaks. Regular filter maintenance keeps the system efficient, preventing clogs that impair debris removal. Troubleshooting common issues involves verifying these components, ensuring ideal operation, and addressing minor problems before they escalate. This proactive approach helps maintain clean water and prolongs your pool cleaner’s lifespan.
- Check water flow and movement
- Inspect and clean the filter
- Look for leaks or blockages
- Listen for unusual noises
- Confirm hose connections
Maintaining Your Pressure-Side Pool Cleaner for Longevity

Regular maintenance is essential to guarantee your pressure-side pool cleaner operates efficiently and lasts for many seasons. First, check the pool’s chemical balance regularly, especially the pH and chlorine levels, to prevent buildup that can damage the cleaner’s parts. Keep the filter and skimmer baskets clean to avoid clogs that impair performance. Additionally, inspect hoses and connections for leaks or wear, replacing any damaged parts promptly. If your pool uses solar heating, ensure the cleaner’s components are compatible and not affected by the heat. Rinsing the cleaner after use helps remove debris and prevents algae growth. Proper storage during off-seasons and routine checks will extend its lifespan, ensuring your cleaner stays effective season after season.
Frequently Asked Questions
How Often Should I Clean or Replace Parts of My Pressure-Side Pool Cleaner?
You should follow a regular maintenance schedule to keep your pressure-side pool cleaner working efficiently. Inspect parts like hoses, brushes, and filters weekly for debris and wear. Replace worn or damaged parts promptly to prevent further issues. Typically, parts such as hoses and brushes need replacement every season or as needed, depending on usage. Staying proactive with part replacement guarantees your cleaner operates smoothly and extends its lifespan.
Can I Use a Pressure-Side Cleaner With an Above-Ground Pool?
You can definitely use a pressure-side cleaner with your above ground pool. Many models are designed with above ground compatibility in mind, offering pressure side benefits like efficient debris removal and easy installation. Just guarantee the cleaner’s specifications match your pool size and plumbing setup. Using a pressure-side cleaner in your above ground pool provides effective cleaning without the hassle of traditional vacuuming, keeping your pool sparkling and ready for use.
What Safety Precautions Should I Take During Installation?
During installation, you should prioritize electrical safety by turning off power sources and avoiding water contact with electrical parts. Wear personal protective equipment like gloves and safety glasses to prevent injuries. Make certain the area is dry and well-lit, and follow the manufacturer’s instructions carefully. If unsure, consult a professional to avoid accidents. Taking these precautions helps you stay safe and ensures the cleaner functions correctly.
Is It Necessary to Backwash the Pool After Installing the Cleaner?
You don’t need to backwash the pool immediately after installing a pressure-side cleaner. However, it’s essential to check your pool’s chemistry and guarantee proper equipment maintenance. Running a backwash can help remove debris and maintain ideal water flow, but only if your filter is dirty. Focus on balancing your chemicals and inspecting your equipment regularly to keep your pool clean and functioning efficiently, regardless of installation.
How Do I Troubleshoot if the Cleaner Is Not Moving Properly?
Think of your pool cleaner like a diligent worker who sometimes gets bogged down. To troubleshoot, check the pressure hose for kinks or leaks that hinder movement. Inspect for debris buildup around the cleaner’s intake or wheels, which can cause it to stall. Make sure the hose is properly connected and the pressure valve is adjusted correctly. Clearing blockages and ensuring proper connections usually get your cleaner back to work smoothly.
Conclusion
With your pressure-side pool cleaner in place, you’re now the guardian of your oasis, guiding it through shimmering waters like a steady captain. Each sweep and turn symbolizes your commitment to a pristine paradise, where clarity and cleanliness reflect your care. As you maintain it, think of tending a garden—nurturing growth and beauty. Trust in your efforts, and your pool will remain a sparkling sanctuary, inviting relaxation and joy with every glide.